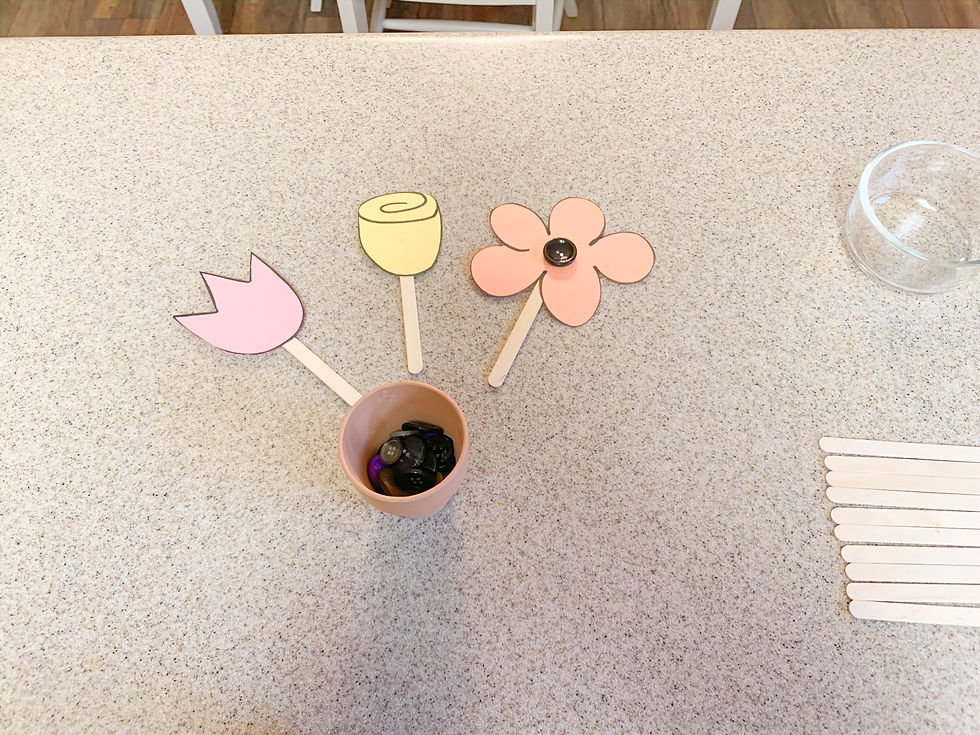
How to Make a Paper Flower Bouquet
- Miss Kelsey

- Mar 30, 2020
- 2 min read
Updated: Mar 31, 2020

Use of scissors is involved in the craft. Please monitor children and assist as needed.
Want to make an everlasting bouquet of "homegrown" flowers? Then this is the craft for you. Forget the gardening gloves and the mess, we are using paper, buttons, and glue to create the perfect addition to your windowsill.
Here is what you will need:
- Construction Paper
- Marker(s)
- Scissors
- Popsicle sticks
- Glue (preferably tacky glue)
- Buttons (optional)
- Mini flower pot or a small cup
Step 1: Prepare your materials.

Step 2: Choose the colors you want to use for your flowers.

Step 3: Cut your piece of paper in half to save on paper scraps. Then, draw your flowers.
This is a chance for you to get creative! You can either use the flowers I drew as a guide, or make up your own beautiful botanical creations!

Step 4: Cut the outline of your flowers.

Don't forget to recycle your paper scraps!

Step 5: Put a tiny dot of glue on the end of a popsicle stick.

Step 6: Flip your flower cutouts over to the back. Attach your popsicle stick to the center of your flower.

Step 7: Wait for the glue to dry.

Step 8: (optional) Add buttons to the center of your flower(s). Then, wait for the glue to dry.


Step 9: Use extra buttons, small pebbles, or what you can find around the house to fill the bottom half of your mini flower pot/small cup.
I chose to use extra buttons.

Step 10: Enjoy your beautiful paper bouquet!

And there you have it! An everlasting, "homegrown" flower bouquet!
Pin this craft to save it for later.
If your family tried it out, please comment below to let me know how it went!


Comments